Vendor Reconciliation
Although we would all like expenses to be incurred, logged, and approved instantly - the reality is that this does not happen often. If your resources are using a company-paid credit card, then you'll likely find yourself in a situation where your credit card vendor sends you a bill, but your expenses have not been approved yet. Projector's vendor reconciliation features allow you to issue payment to the vendor before all expenses have completed the approval process. Vendor reconciliation can also be used to accommodate payments for costs that will never be entered into Projector, such as late payment fees.
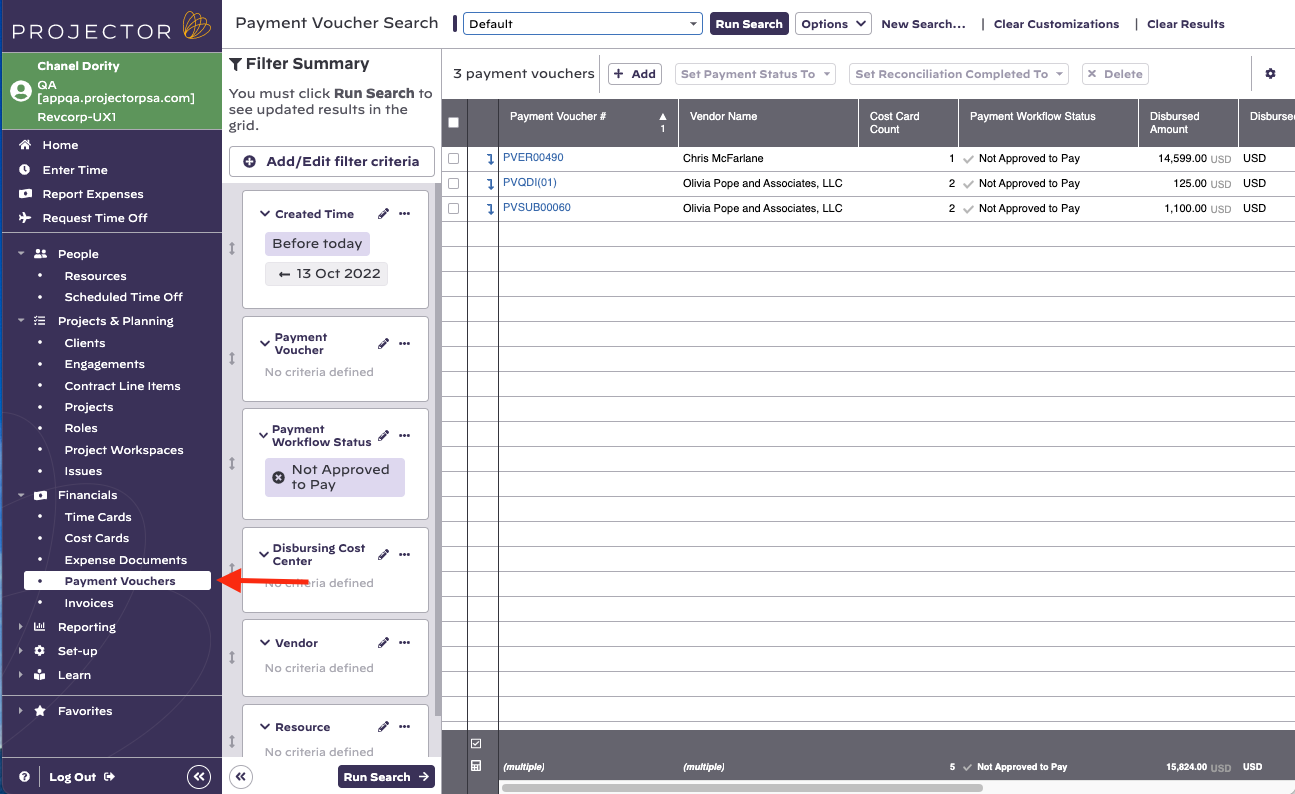
Payment vouchers are managed by pointing your browser at https://app.projectorpsa.com/Management/Expense/paymentvouchers
Permissions and Settings
You must have the cost center permission Administer Expense Document Payment Workflow for the expense document's cost center to create, modify, or delete payment vouchers.
Further details on Vendor Reconciliation Accounting Transactions can be found in our Projector Accounting Integration document.
Your company credit card vendors are managed through the Vendor Editor.
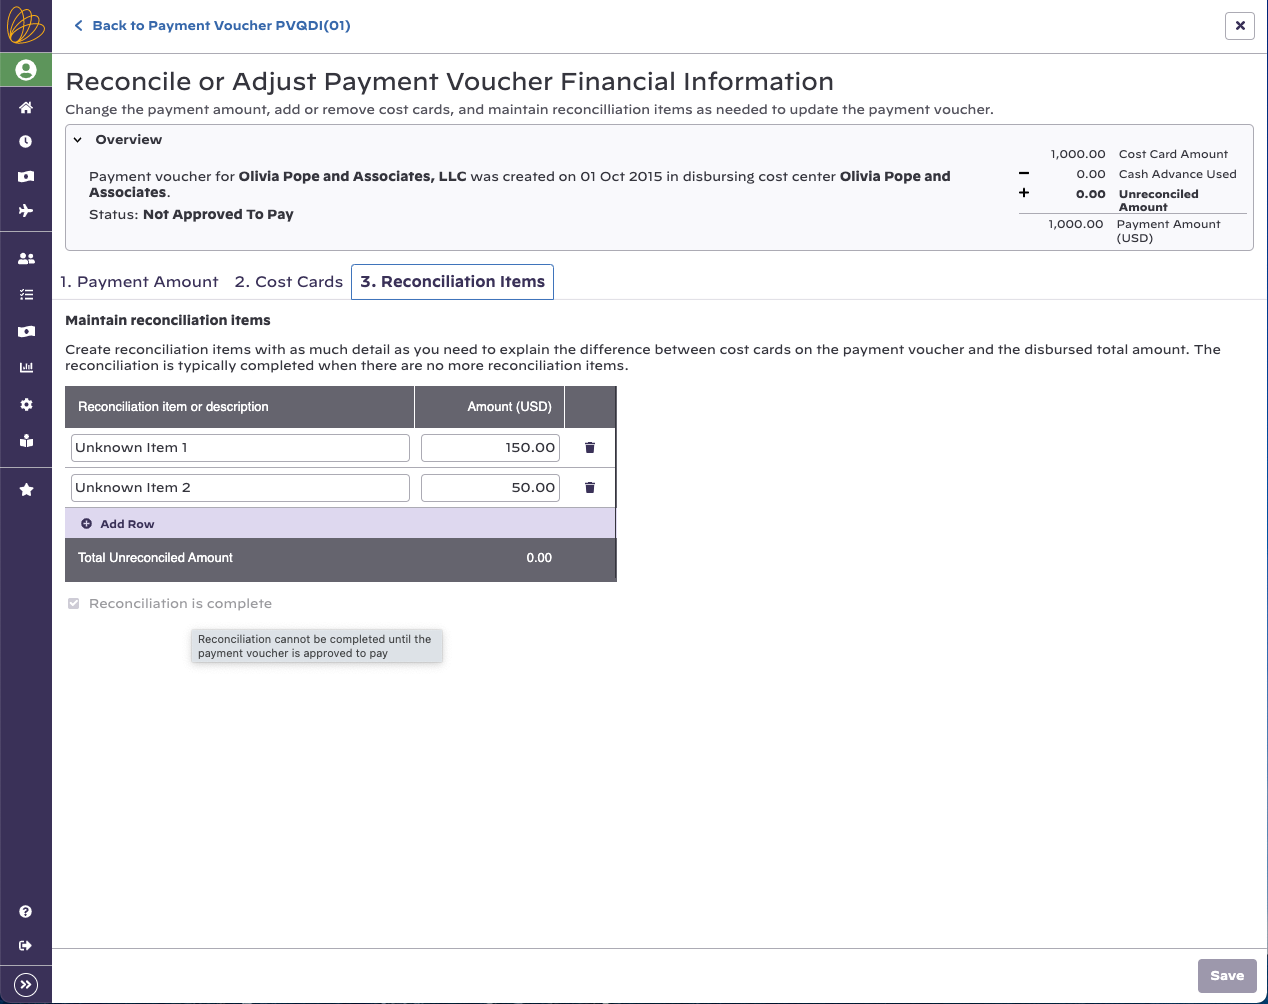
The Reconciliation is Complete checkbox is disabled until the payment voucher is approved.
In Practice
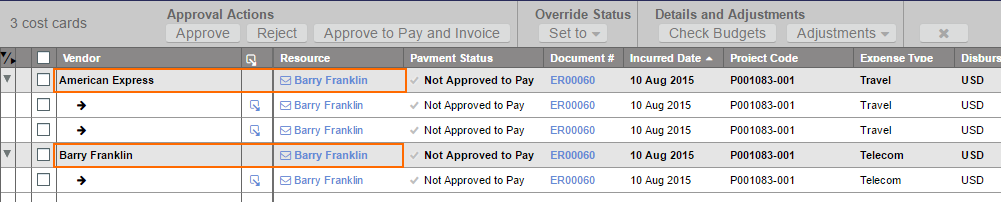
A practical guide to the life-cycle of a reconciliation item. For this example, pretend you received a credit card bill for three expenses. One of those expenses is approved, the other two are still in draft. The screenshot below shows our two draft cards. How do you pay the credit card bill without having to chase down your approvers for the other two expenses? Reconciliation items, that's how!

Read This
If you are glossing over this documentation, don't skip this part. If you have been using Projector to approve AP items previously you may need to do it differently now.
In order for vendor reconciliations to work, you need to create a single payment voucher for all expenses paid against a company credit card. If both John and Jane use the same company credit card, then all the expenses they paid on that card must be grouped onto a single payment voucher. In addition, you can't mix company credit card expenses with ones paid by the resource on the same voucher. For example, Sarah incurs two expenses. One she pays out of pocket, the other with a company credit card. Don't put both on the same AP item.
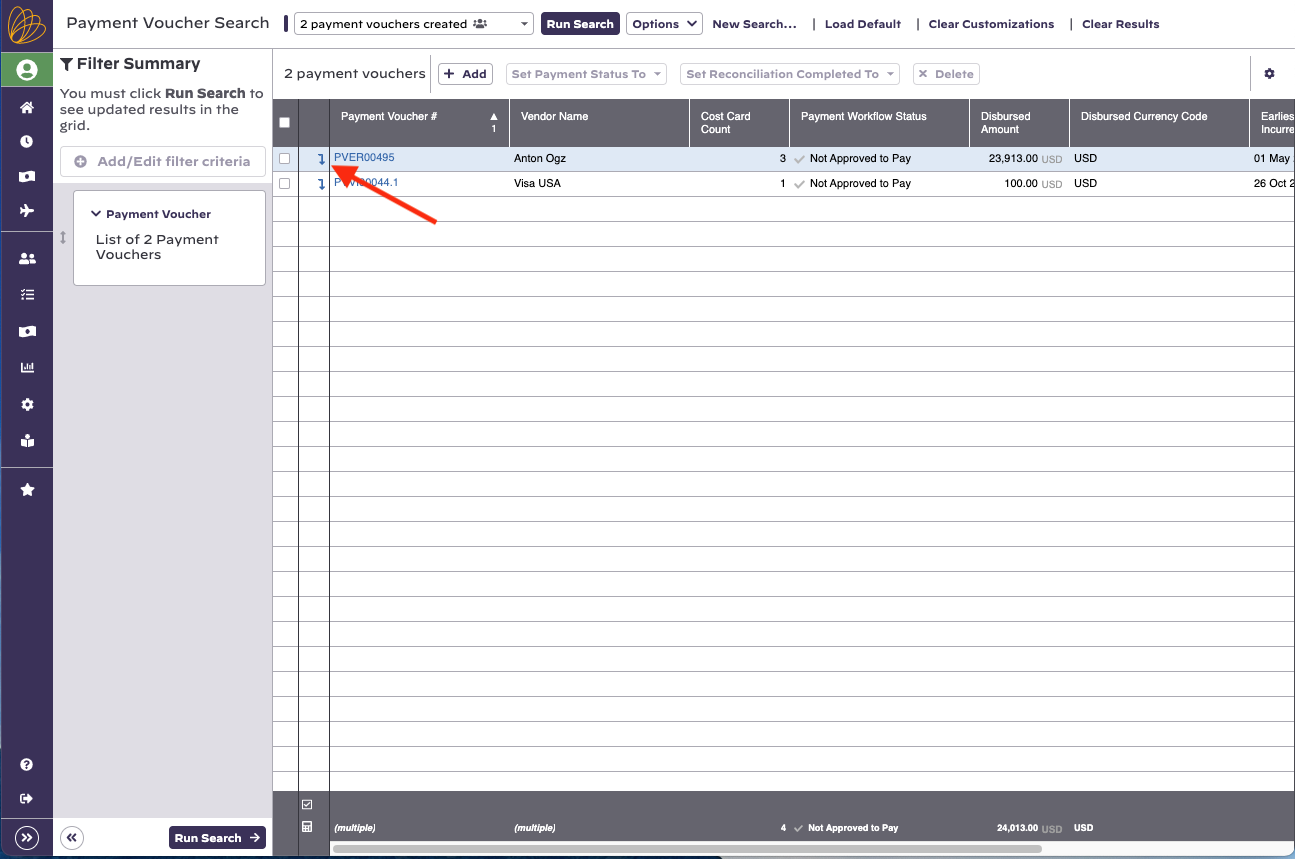
You need to configure your expense approvals to take place by vendor. Take a look at the screenshot below. All of these unapproved to pay cost cards are for Barry. However, two were paid by company credit card and one was paid by Barry himself. You only want to approve to pay on this screen the single cost card. The credit card line items you are going to sweep onto a separate payment voucher.
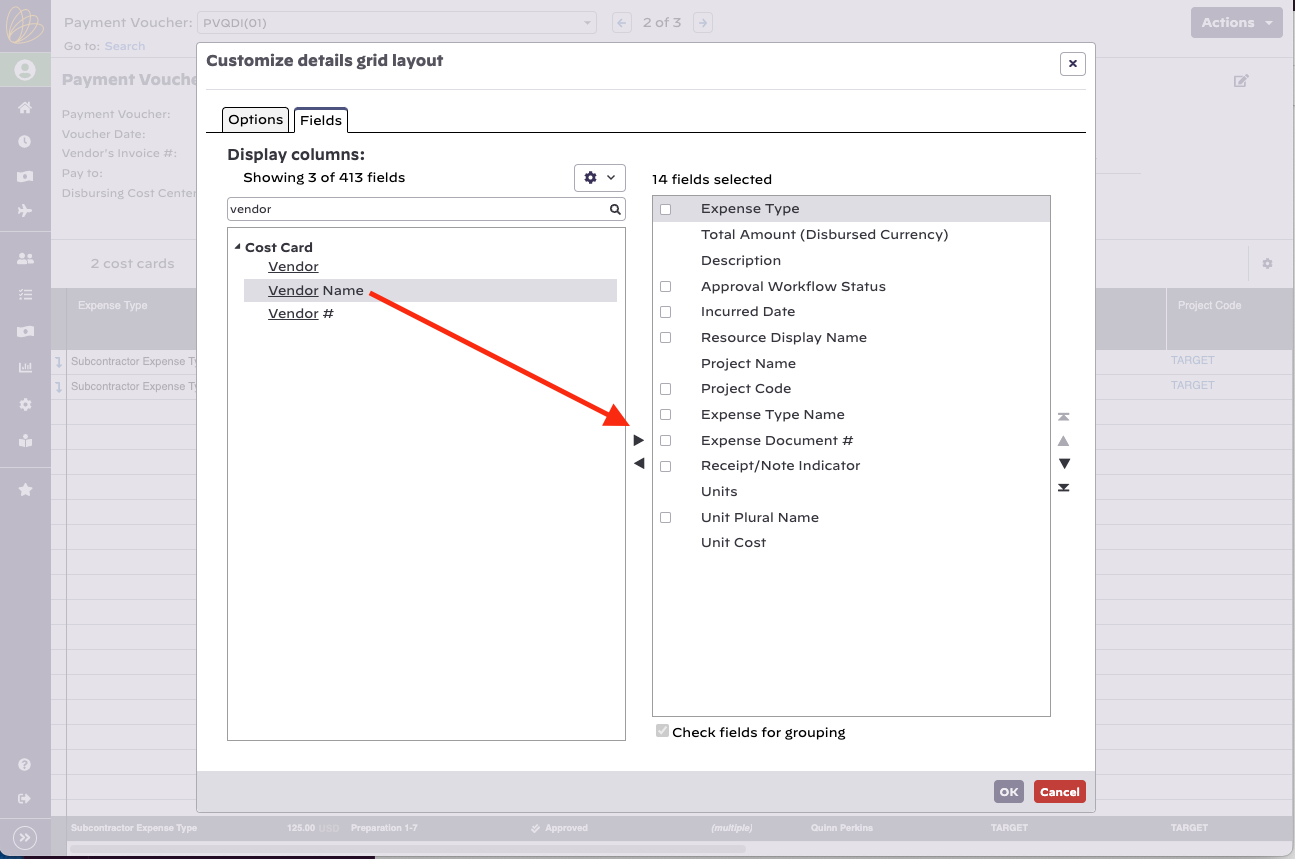
To configure your own expense approval screen to look like this:
- Edit the grid
- Add "Vendor Name" as a column
- Tick the checkbox next to Vendor Name
- Put it at the top of the column list
- Save the search as a favorite
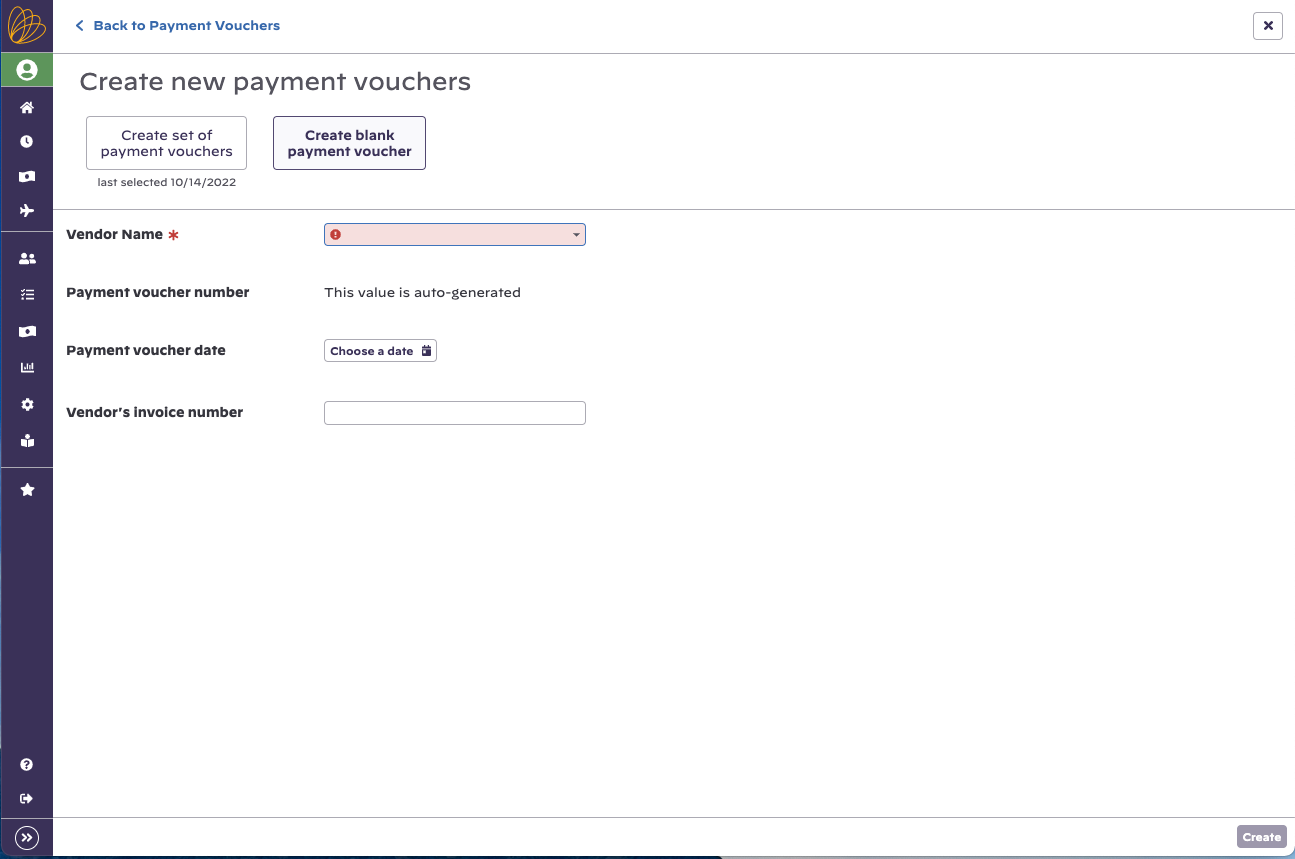
Create Blank Payment Voucher
When you receive a credit card statement, start by making a blank payment voucher.
- Go to Topics | Payment Vouchers | + Payment Voucher
- From dropdown choose Blank payment voucher
- From second dropdown choose your credit card provider
- Enter voucher date and number
- Click Create
Open Blank Payment Voucher
Open your new, blank payment voucher.
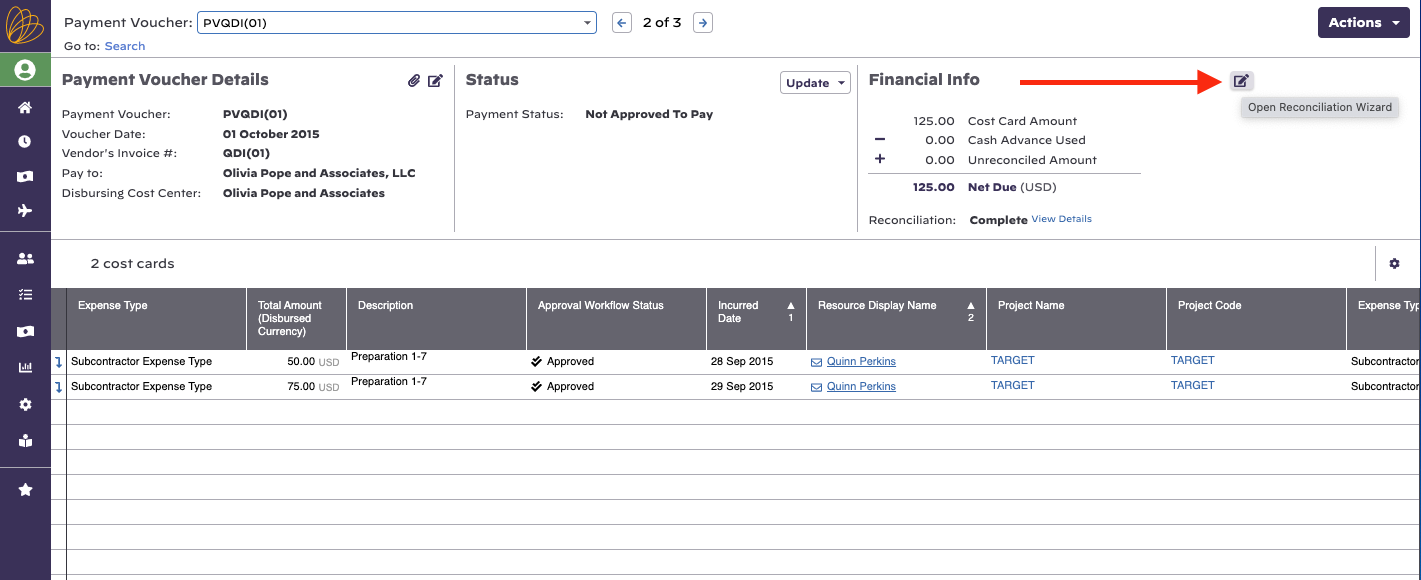
Edit Financial Info
Click the pen and paper icon ![]() to start entering reconciliation information.
to start entering reconciliation information.
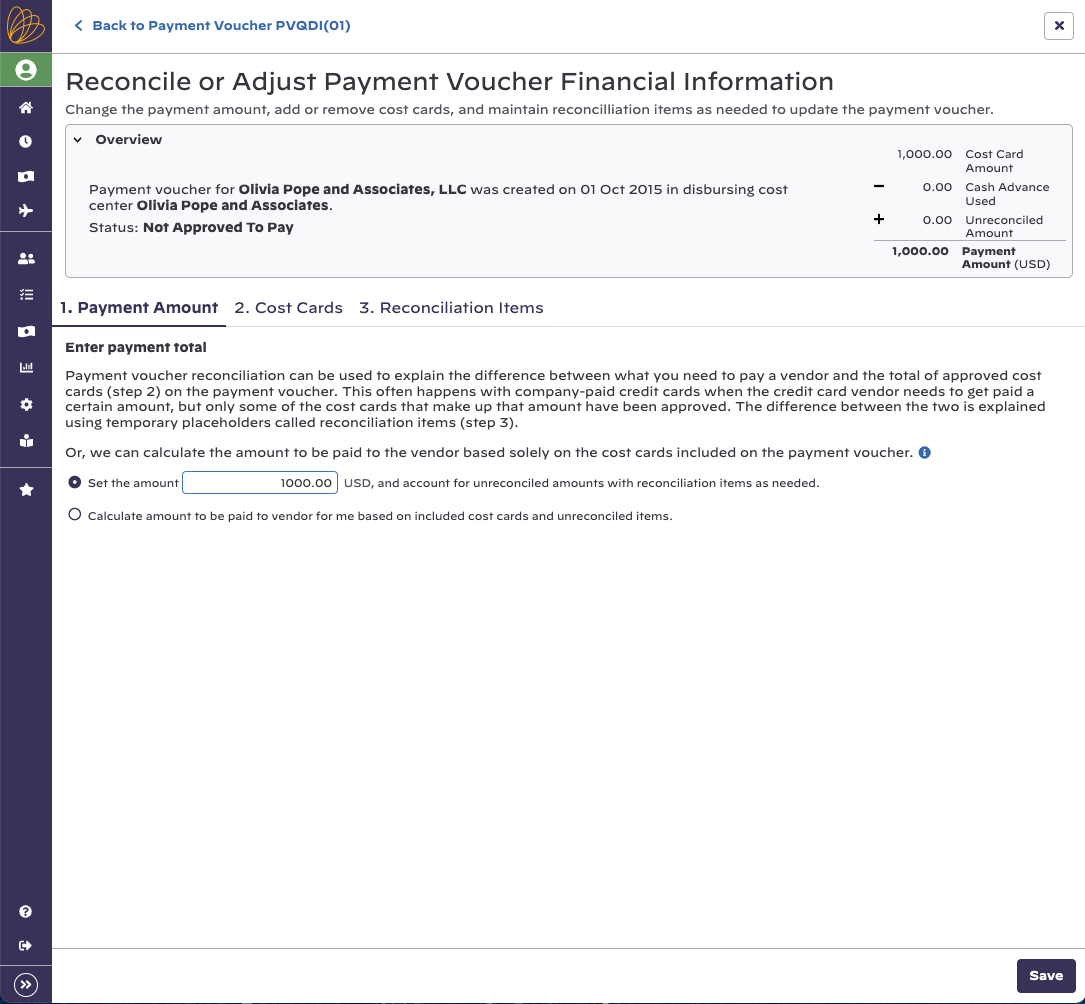
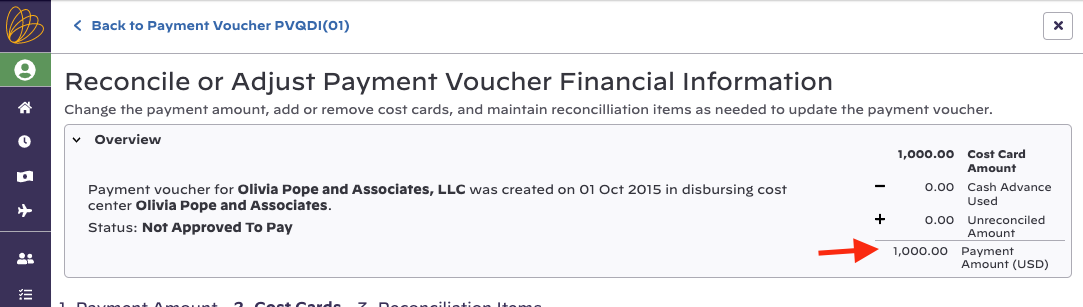
Enter Statement Amount
On the first tab, Payment Amount, choose the radio button Set payment amount... and enter the amount on your credit card statement.
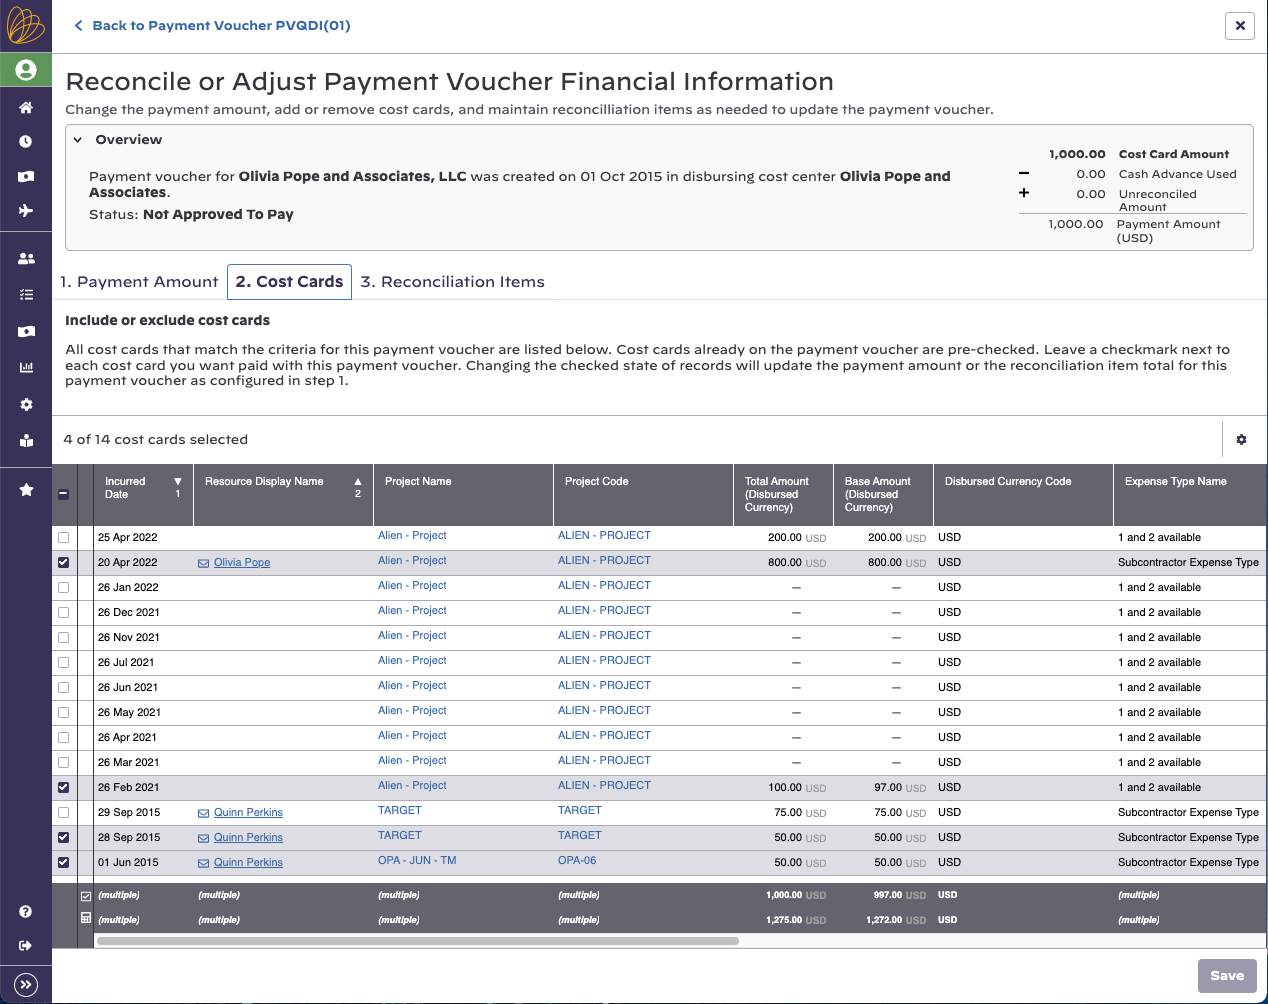
Add Cost Cards
Move on to the second tab, Cost Cards. All cost cards that are workflow approved appear in the list. You can click the gear icon on the far right of the grid to edit which columns of data are displayed. Tick the checkbox for each card that belongs on this payment voucher.
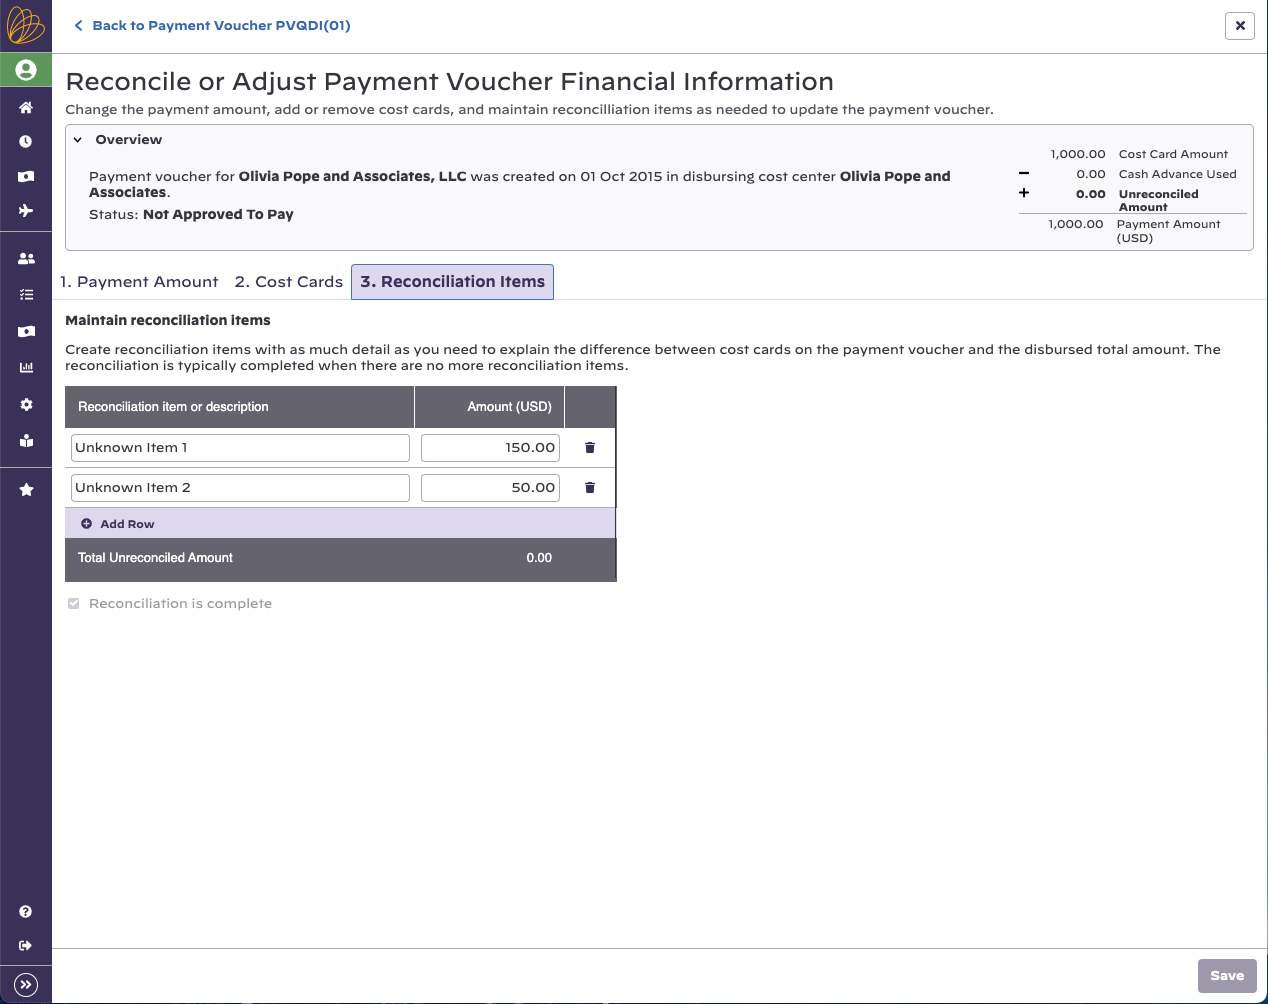
Create Reconciliation Items
Move on to the last tab, Reconciliation Items. You have two options here.
- Leave a single, large amount that represents all unreconciled items
- Enter each individual line item from your credit card
The first option is less work up front. The second option allows you more accurately determine which line items have not yet been accounted for.
In the screenshot below you can see that I created line items for my missing cost cards. Go ahead and click Save. You are done for the time being.
Reconcile Items
When a new cost card is workflow approved, you'll revisit step 2 in the wizard above. Check the new cost cards to add them to to your payment voucher. Projector automatically recalculates the unreconciled amount to reflect the new cost card additions.
Finally, go to step 3 again, X out the reconciliation items and tick the Reconciliation is complete checkbox.
Credit Card Fees
If you have a credit card fee that will never have a corresponding payment voucher, then you can leave it as an unreconciled item on the payment voucher.
Accounting
For detailed information on the specific accounting transactions related to Vendor Reconciliation please visit the Projector Accounting Integration.